
Aptos Know-How Series - Episode 2: Your First Move Module on Aptos Testnet through MegaNode
Completing this Episode 2 will allow you to compile, test, publish and interact with Move modules on the Aptos blockchain’s Testnet with the Nodereal endpoint.
Welcome back to the Aptos Know-How Series! Before diving into this episode, please make sure you check out Episode 1 to get yourself warmed up and ready with Aptos API Endpoint and Aptos CLI installation.
Episode 2 will comprises 6 parts with detailed step-by-step instructions:
- Part 1: Adding NodeReal Testnet endpoint to the Wallet
- Part 2: Create & Fund an account
- Part 3: Compile & Test the Move module
- Part 4: Publish a Move module
- Part 5: Run a Move function
- Part 6: Validate transactions on TraceMove
Completing this Episode 2 will allow you to compile, test, publish and interact with Move modules on the Aptos blockchain’s Testnet with the Nodereal endpoint. Thus, bringing you one step closer to being able to write & deploy applications on the Aptos Blockchain.
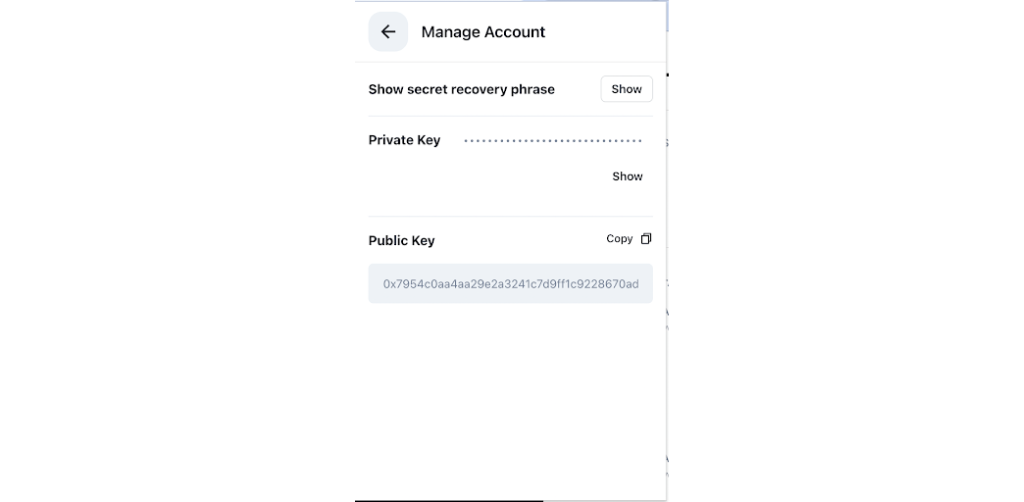
Adding NodeReal Testnet endpoint to the wallet
Please follow this link to add NodeReal testnet endpoint to the wallet. For this tutorial, we are using petra wallet but you can use any supported wallet.
Connect to the faucet and airdrop coins

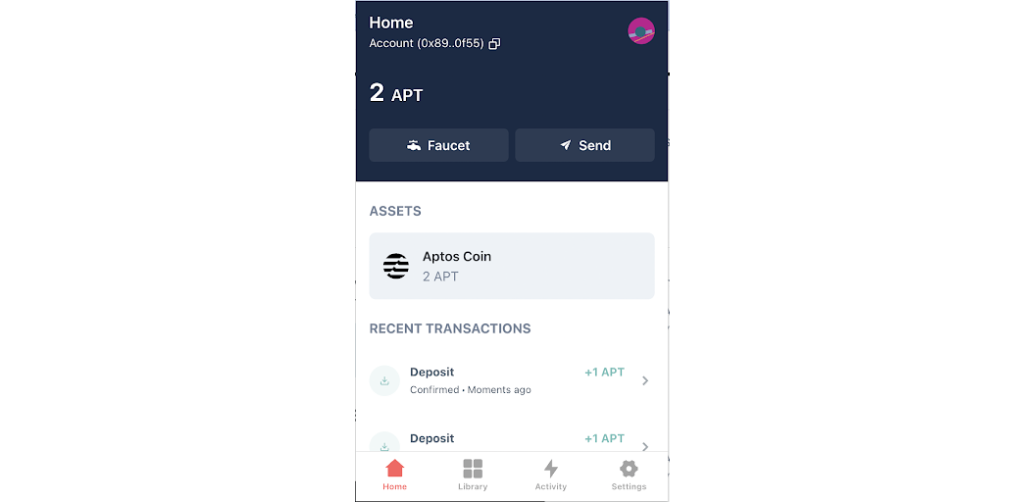
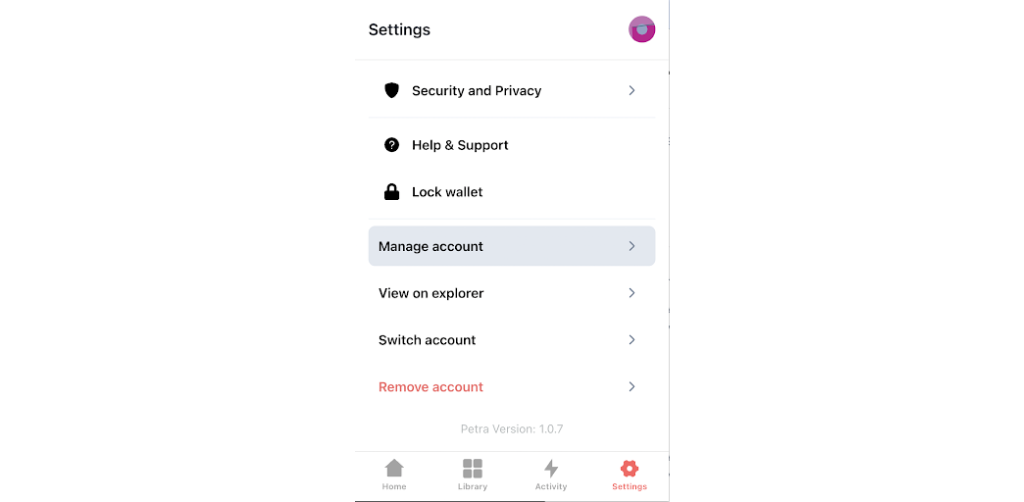
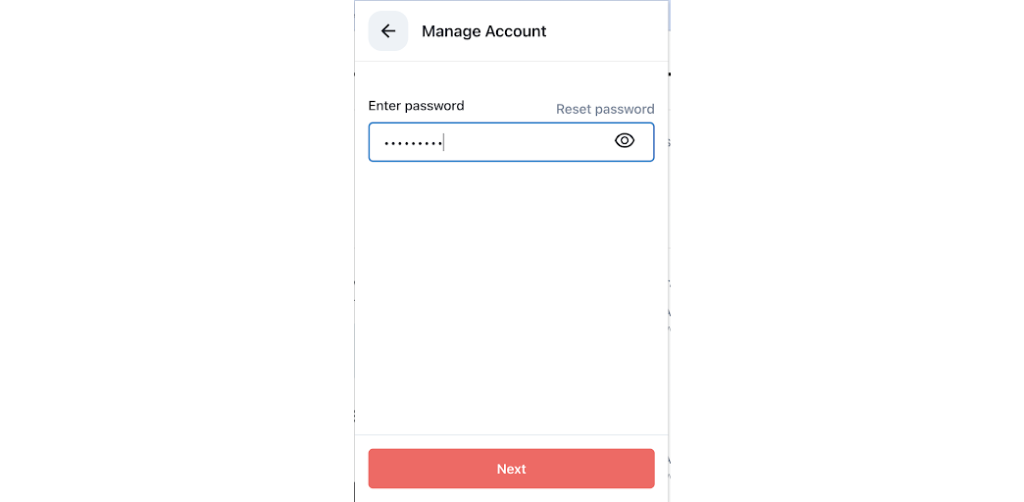
Copy Wallet private key
Create & Fund an account
After installing the CLI binary, we will begin with initializing the new account. Once we have initialized the network, we will create and fund an account on the Aptos blockchain. Below are the steps to follow:
a. Go to the terminal and initialize a new local account:
Aptos init or ~/bin/aptos initb. Configure the Nodereal endpoints for Aptos Testnet:
Below we have shared a sample output here you need to configure the Nodereal endpoints for Aptos Testnet by entering your information as follows:
b.1 Enter the Rest API endpoint from the Nodereal app dashboard created in the previous episode and paste it here as shown in the example below (highlighted in green) and press enter.
b.2 For the Faucet endpoint add the following link: https://aptoslabs.com/testnet-faucet
b.3 Finally, for the account information add a private key of the account from the wallet or press enter again to create a new account.
Enter your rest endpoint [Current: None | No input: https://fullnode.devnet.aptoslabs.com/v1]
https://aptos-testnet.nodereal.io/v1/{API_Key}/v1
No rest url given, using https://fullnode.devnet.aptoslabs.com/v1...
Enter your faucet endpoint [Current: None | No input:
https://faucet.devnet.aptoslabs.com | 'skip' to not use a faucet]
skip
Skipping faucet
Enter your private key as a hex literal (0x...) [Current: Redacted | No input: Generate new key (or keep one if present)]
0xcc36b5fc7c5c3319a5fc6343a96c7d1ac24f271XXXXXedcbdXXXXXXXXXXXX
Aptos is now set up for account 625666126c4c1fdbe334884f5b9e6c4b1364857a1d24f80566ea4fcee5263f97!  Run `aptos help` for more information about commands
{
  "Result": "Success"
}
c. Fund the account while using the following command
aptos account fund-with-faucet --account defaultCompile & Test the Move Module
a. Clone Aptos-core in your home directory repo using this command on the terminal.
git clone https://github.com/aptos-labs/aptos-core.gitb. On the terminal go to the aptos-core/aptos-move directory, there are multiple examples that you can try your hands on.
For this case, we are using the hello_blockchain example, and to do so go to the specific directory on your terminal through the following command
cd aptos-core/aptos-move/move-examples/hello_blockchainc. Run the following to compile and test the module
aptos move compile --named-addresses hello_blockchain=defaultaptos move test --named-addresses hello_blockchain=defaultPublish a Move module to the Aptos blockchain.
After the code was compiled and tested, we can publish the module to the account created for this tutorial. By running the below-mentioned command:
aptos move publish --named-addresses hello_blockchain=defaultYou should get the following output as a successful confirmation of the transaction:
{
  "Result": {
    "transaction_hash": "0x4ba54ef6691954ba144c582abe32f2517819e94417623a6404f161b20e562ee4",
    "gas_used": 1749,
    "gas_unit_price": 100,
    "sender": "a588c8d3c15c35def04168b5247cb93e5900e2fa64034336a1de79e79c1ff355",
    "sequence_number": 0,
    "success": true,
    "timestamp_us": 1665573343219653,
    "version": 277880198,
    "vm_status": "Executed successfully"
  }
}
Now, the transaction has been successfully confirmed on the Aptos blockchain.
Run a Move function
Once we have published the module to the blockchain we can access the module through transactions. Use the following command to access the module and pass the message to the hello_blockchain module.
aptos move run \
  --function-id 'default::message::set_message' \
  --args 'string:hello, blockchain'
In the above example, we are using set_message to modify the hello_blockchain MessageHolder resource on the Blockchain as shown in the code snippet from hello_blockchain.move.
public entry fun set_message(account: signer, message: string::String)
    acquires MessageHolder {
        let account_addr = signer::address_of(&account);
        if (!exists<MessageHolder>(account_addr)) {
            move_to(&account, MessageHolder {
                message,
                message_change_events: account::new_event_handle<MessageChangeEvent>(&account),
            })
        } else {
            let old_message_holder = borrow_global_mut<MessageHolder>(account_addr);
            let from_message = *&old_message_holder.message;
            event::emit_event(&mut old_message_holder.message_change_events, MessageChangeEvent {
                from_message,
                to_message: copy message,
            });
            old_message_holder.message = message;
        }
    }
Validate transactions on Tracemove
We can validate our transaction on the Aptos blockchain using Tracemove - A blockchain explorer, powered by NodeReal.
a. Go to https://tracemove.io/
b. Confirm the network(Testnet) on the left side top in a dropdown as the network should match with the network on which the transaction is made.
c. To get a detailed description of the transaction. Enter the transaction hash from the output of the previous steps as shown below

Next Step
We are glad that you made it this far. Now that you already completed Episodes 1 and 2, you should be at least comfortable with running and interacting with Move modules on Aptos through NodeReal MegaNode. Moreover, you should be able to validate transactions through TraceMove - one of the most powerful Blockchain Analytic tools for the Aptos Network.
On the last episode of the Aptos Know-How Series, we will get you to explore innovative NFT use cases and its application. Stay around for the next tutorial episode.
About NodeReal
NodeReal is a one-stop blockchain infrastructure and service provider that embraces the high-speed blockchain era and empowers developers by “Make your Web3 Real”. We provide scalable, reliable, and efficient blockchain solutions for everyone, aiming to support the adoption, growth, and long-term success of the Web3 ecosystem.
Join Our Community
Join our community to learn more about NodeReal and stay up to date!